For a December 4, 2026 Kilimanjaro trek pack a versatile layering system (base, mid, insulated jacket), a 0°C to -10°C rated down sleeping bag, waterproof outer shell, sturdy waterproof boots with good ankle support, crampon-compatible gaiters, headlamp and spare batteries, daypack (20–30L), summit gloves and hat, sunscreen and water-treatment; plan porter loads (max 15–20kg each) and check airline checked-luggage limits. December can be wetter at lower levels but very cold on summit nights—pack for both.
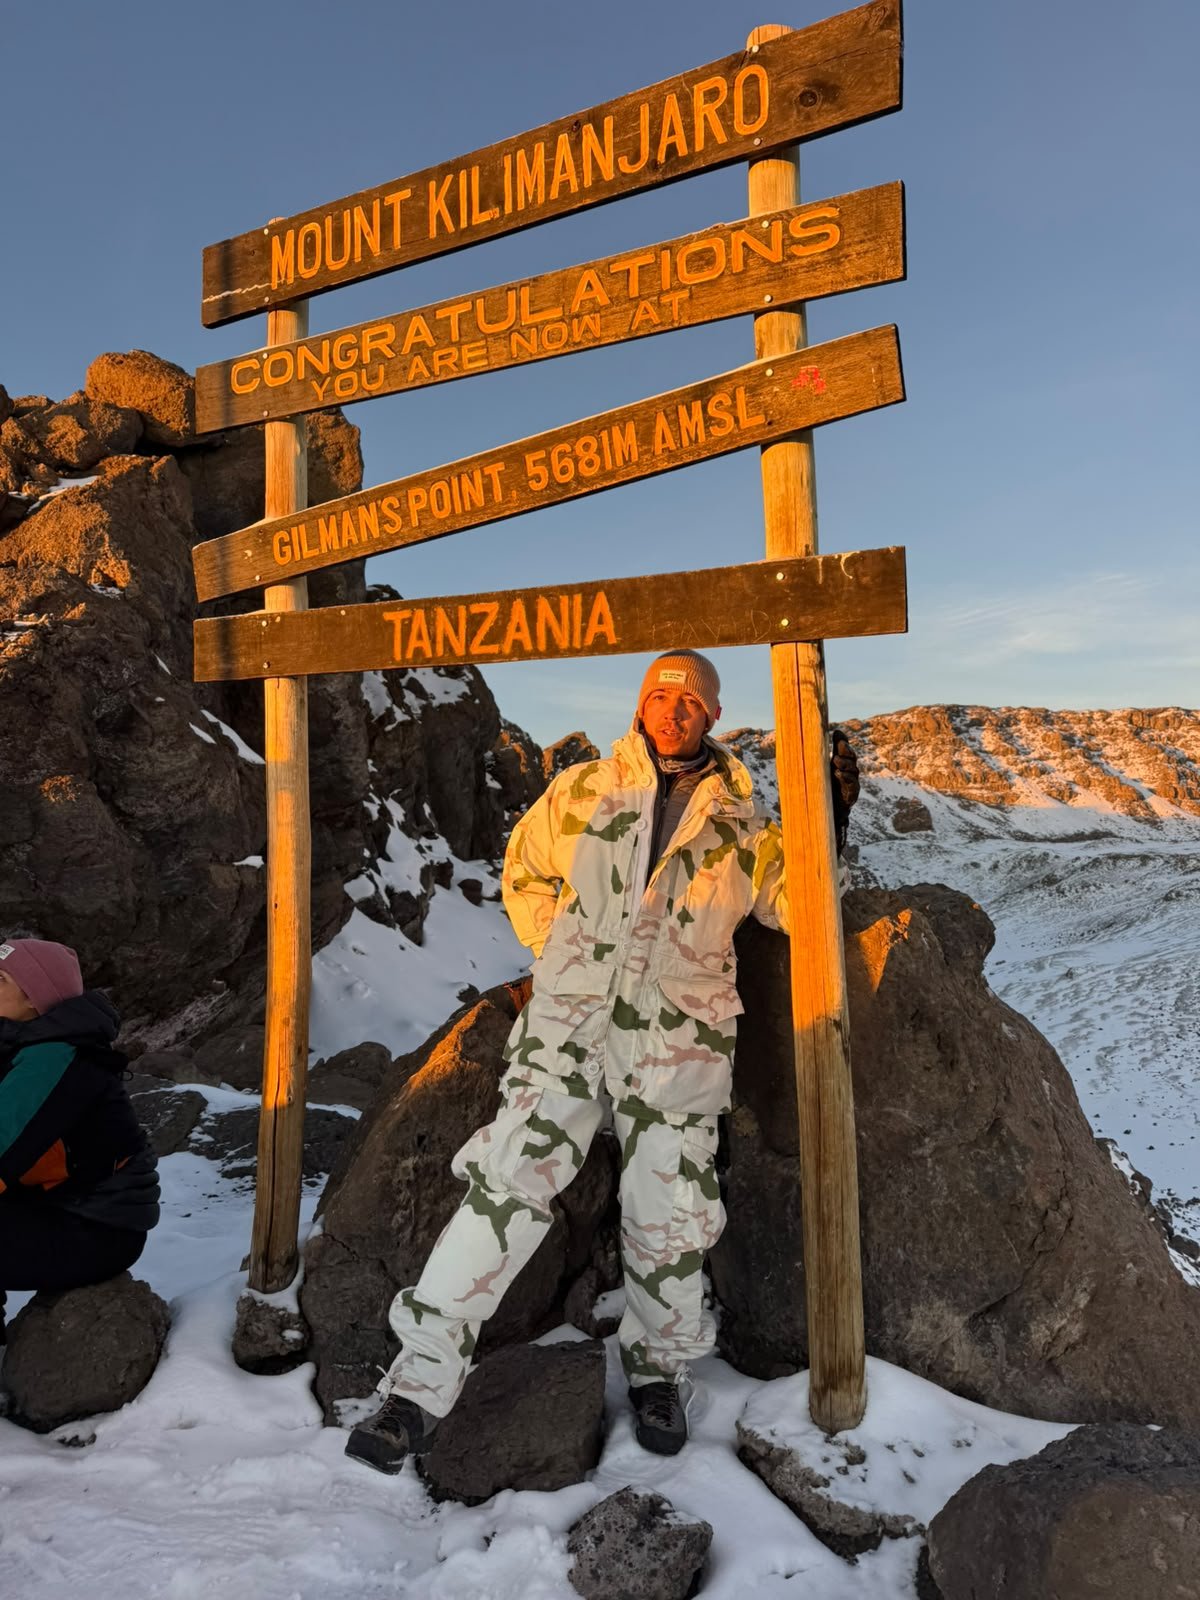
Why this packing list changes for a December 4 departure
The core choices—warm, dry, lightweight—stay the same for any Kilimanjaro climb. For a December 4, 2026 Kilimanjaro December Trekking Packing List the main adjustments are: expect short-rain risk at forest and moorland elevations, muddier trails on some routes, and still-intense summit cold. That means prioritising waterproof breathable outer layers and quick-dry apparel low down, while keeping a full cold-weather summit kit (down jacket, insulated pants, extra gloves) for nights above 4,500m.
How to choose between options (which traveler needs what)
Decisions are trade-offs between weight and comfort. Use this short guide to decide:
- Light and fit-focused trekkers: Ultralight shells and synthetic insulation save weight but cost more. Choose if you carry your own kit and are accustomed to 10–12kg packs.
- Comfort-first or altitude-cautious trekkers: Heavier, warmer sleeping bag (to -10°C) and extra mid-layers reduce hypothermia risk and improve sleep—best if you want spare comfort at camp.
- Budget travelers: Rent a sleeping bag and down jacket locally or from Climb 4 Africa if available—this lowers baggage but verify hygiene and warmth ratings before departure.
- First-time or slower hikers: Add an extra mid-layer, hand warmers, and consider hiring a personal porter package (see our December 4 private porter page) to keep your daypack light and reduce fatigue.
Essential clothing and layer system
Layering is the single most important concept:
- Base layers: Two moisture-wicking tops (synthetic or merino) and two bottoms—merino/synthetic; avoid cotton.
- Mid layers: Fleece or lightweight insulated jacket for camp. A heavier fleece for colder sleepers.
- Insulated layer for summit: Pack a warm down jacket (800-fill ideal, or synthetic equivalent) and insulated trekking pants. Down compresses small and gives the best warmth-to-weight.
- Shells: Waterproof breathable jacket with hood and fully taped seams. Waterproof trousers that fit over walking pants are useful on wet tracks.
- Underwear and socks: Several pairs of synthetic or wool socks (bring liners if prone to blisters), synthetic underwear.
- Head and hands: Warm beanie, balaclava or buff, thin liner gloves and thick insulated waterproof gloves for summit.
Footwear, gaiters and trekking poles
Good boots reduce injury risk and keep you dry in December mud:
- Waterproof, supportive boots with solid ankle support; break them in well before the trek.
- Lightweight trail runners may be tempting on hot lower trails—use only if already used to them and pair with good gaiters.
- Gaiters protect against mud and scree; choose a cuff that works with your boot.
- Trekking poles with adjustable length reduce knee stress on descents and help with balance on wet sections.
Sleeping bag, mattress and camp comfort
Night temperatures near the summit are the critical factor. For December climbs choose:
- Sleeping bag rated around 0°C to -10°C (comfort to -5°C or lower for cold sleepers). If renting, confirm actual temperature rating.
- Closed-cell foam sleeping pad or inflatable pad with R-value to insulate from the ground; double up if you sleep cold.
Daypack and summit day kit
Your daypack holds essentials for hiking hours each day. Recommended items and sizes:
- 20–30L daypack with rain cover.
- Sunscreen SPF 50, lip balm with SPF, sunglasses with side protection.
- Hydration system (1–2L bladder) plus spare bottles. December streams may run but treat water with tablets/filters or boil.
- Summit kit: spare warm mitts, hat, down jacket, sunglasses, headlamp, high-energy snacks, and a small first-aid blister kit.
Toiletries, medication and paperwork
Pack light but complete:
- Basic personal meds plus altitude medication if prescribed—always confirm with your doctor.
- Hand sanitiser, biodegradable wet wipes, quick-dry towel, toilet paper in a plastic bag.
- Passport, travel insurance details, permits provided by operator (carry copies and a laminated list of emergency contacts).
Weight, porter planning and luggage logistics
Climb 4 Africa and other operators limit personal porter loads—commonly 15–20kg per person for collective porters, but verify with your booking. Practical advice:
- Pack one main duffel for porters (soft-sided), clearly labelled; place items you don’t need on the trail—extra clothing, spare shoes, toiletries.
- Carry summit essentials in your daypack. If you hire a personal porter package, you can redistribute heavier items but keep valuables and summit clothing with
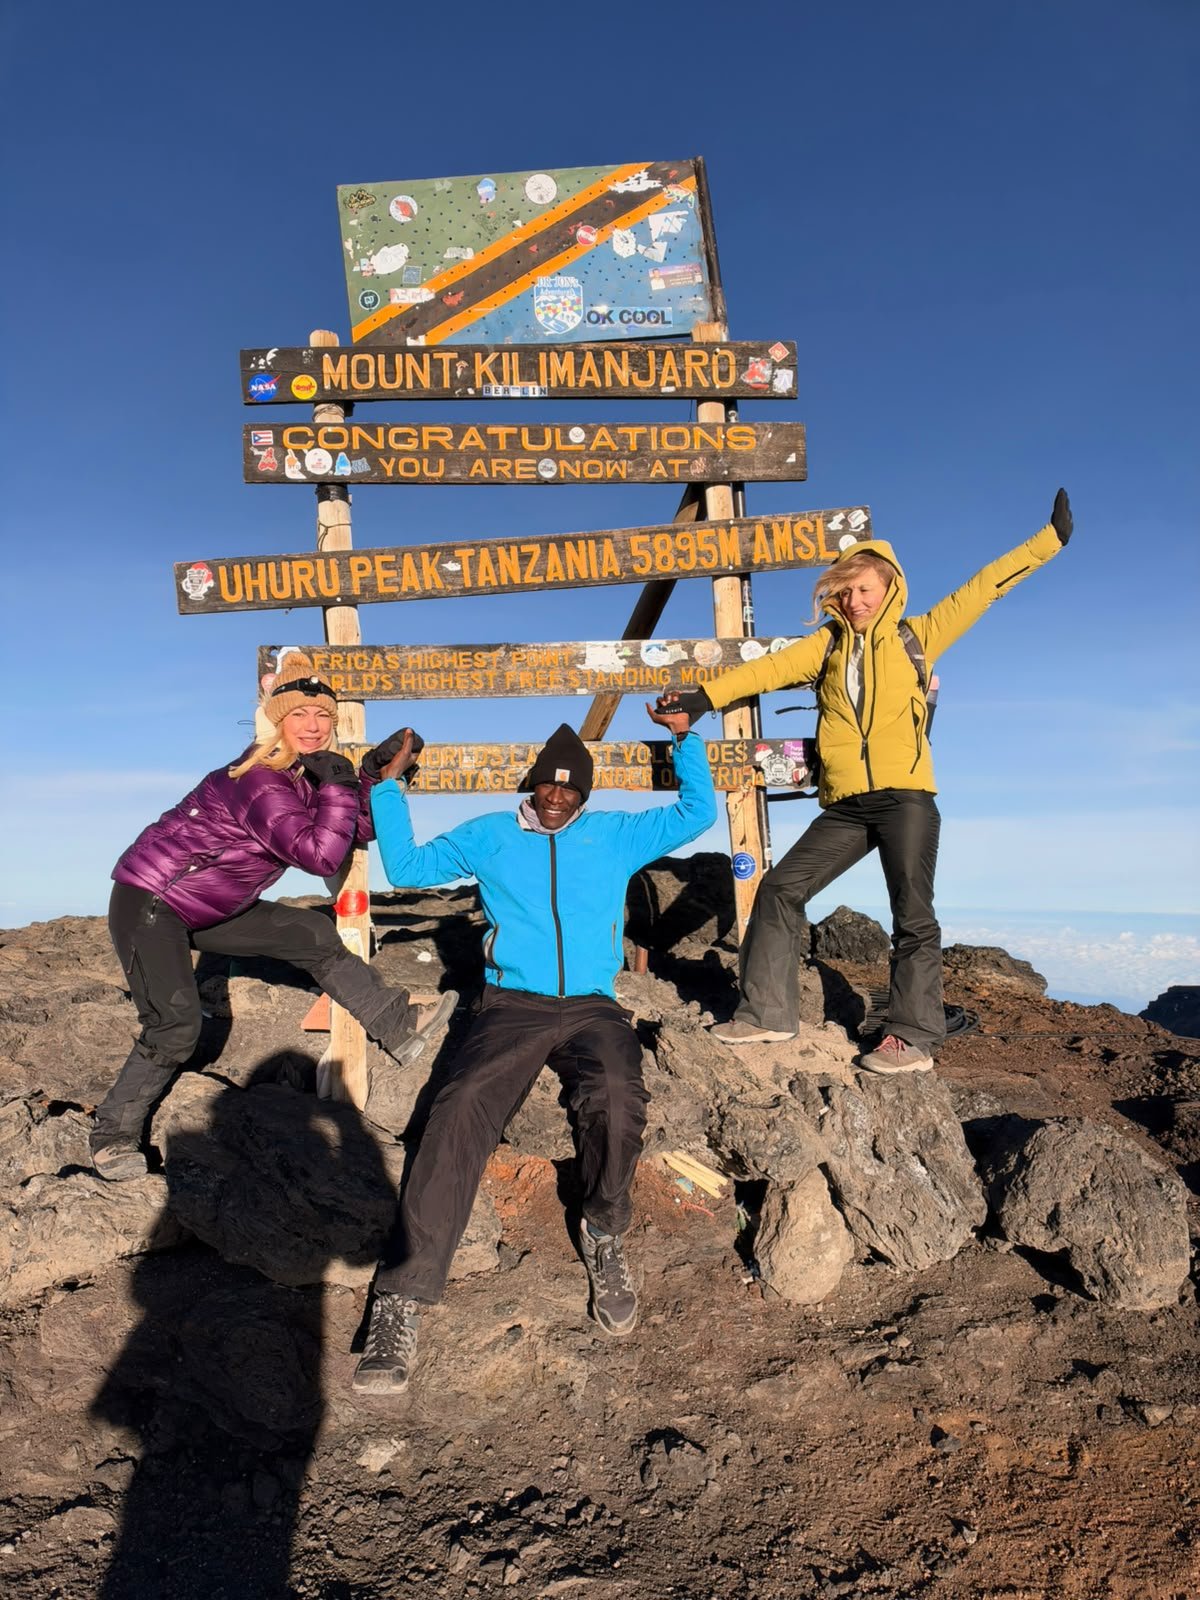
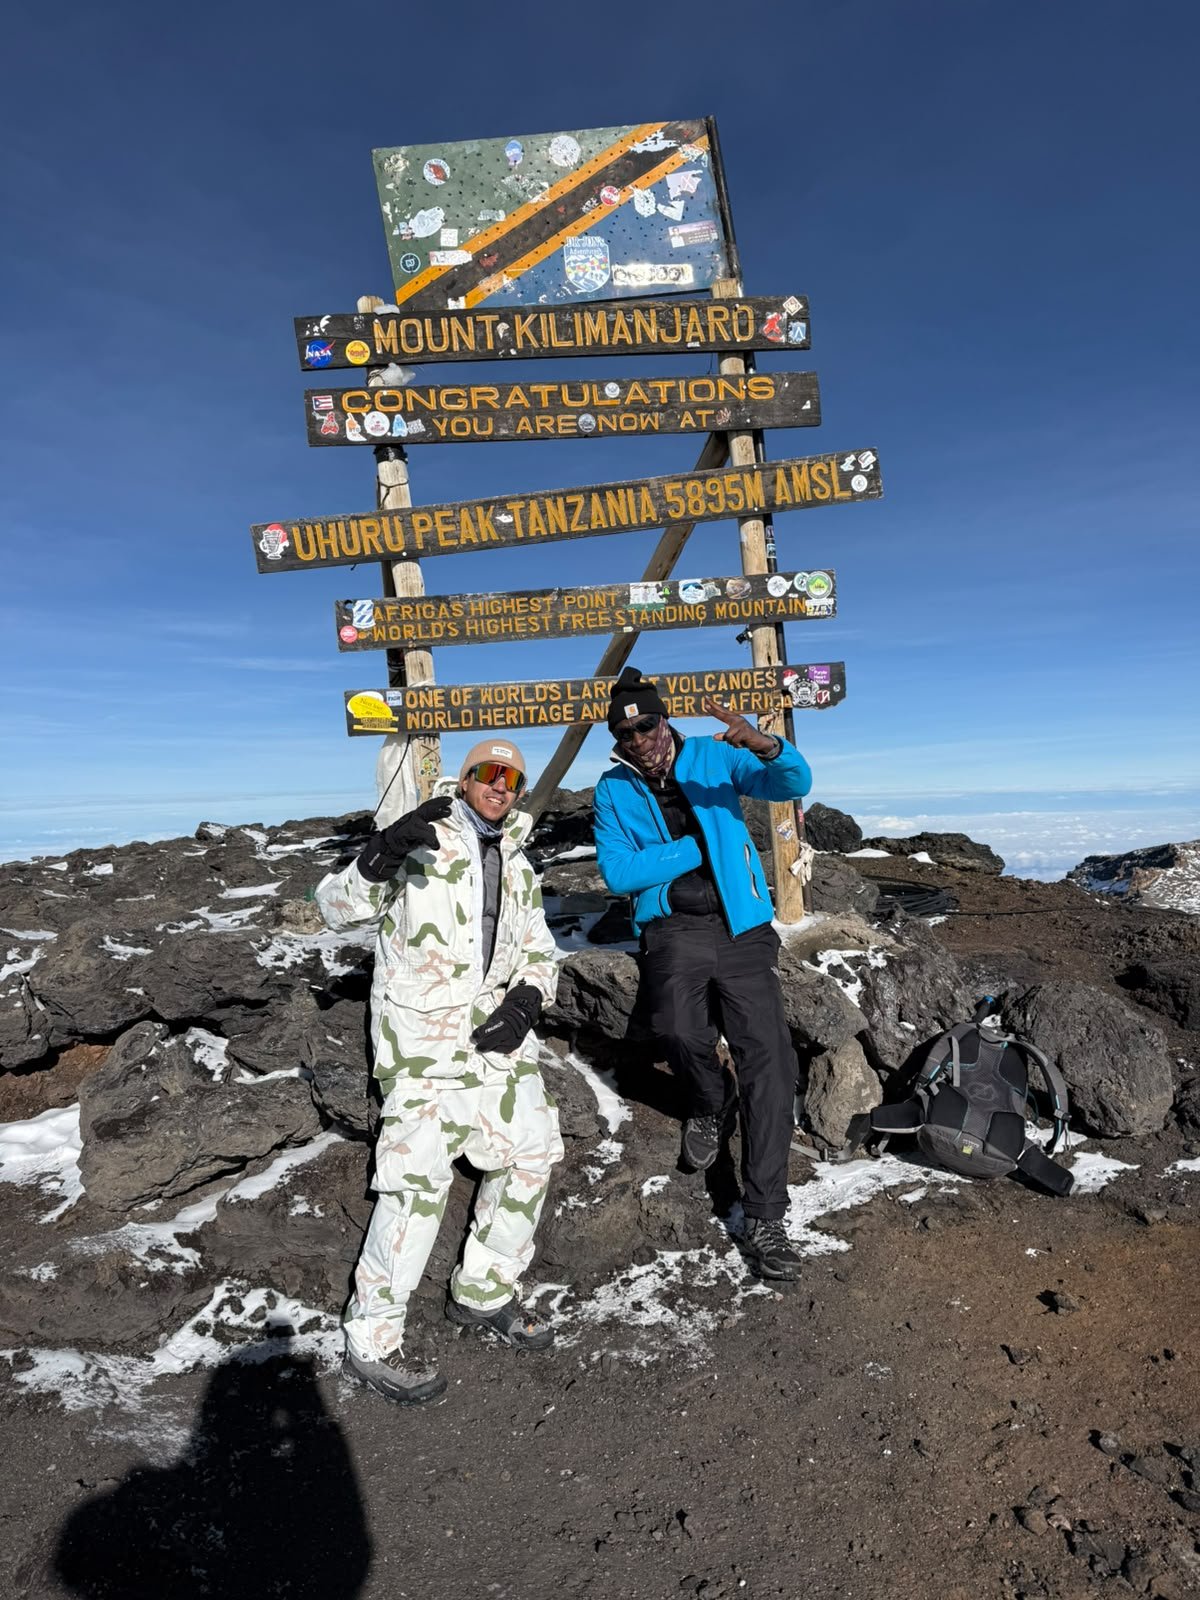
Keeping kit dry, functional and hygienic on a December 4 Kilimanjaro trek
One practical gap many trekkers face on a December 4 Kilimanjaro December Trekking Packing List is not just what to bring, but how to keep it working through wet lower-elevation trails, humid camp mornings and freezing summit nights. December’s short-rain windows and muddier footpaths increase the day-to-day wear on waterproofing, fabrics and electronics. This section explains reliable, low-weight techniques to keep clothing dry, prevent odour and mildew, protect batteries in cold, and perform simple repairs on the trail.
Daily wet-weather routine (morning and evening)
- Morning: Move damp liners and socks to the top of your daypack or under your jacket while you walk; warm body heat accelerates drying. If you have a small pack towel, wring and squeeze moisture from fabrics into a plastic bag to reduce overall dampness.
- Evening: At camp, rinse and wring out sweaty base layers and socks in a small basin or zip-lock bag using a biodegradable soap. Wring thoroughly and spread fabrics across the outside of your duffel or over a line (many guides set a clothesline between poles). Place small, damp items inside the tent vestibule overnight wrapped in a dry bag — not in your sleeping bag — so they partially dry with your body heat while minimising condensation against your quilt.
- Boot care: Clean mud from the tread and remove insoles. Stuff boots with balled-up dry socks or a dry bag containing silica packets to maintain shape and speed drying. Never put wet boots inside your sleeping bag.
Simple drying tricks for cold, wet nights
Do not rely on fast, camp-style boot dryers or batteries to dry large items. Use these low-tech methods:
- Wear a thin liner glove and sit with damp mitts under layers of your insulated jacket for 10–15 minutes after dinner to use body heat for partial drying.
- Divide damp clothing across multiple sleeping pads and tent surfaces to expose more area to air and body heat; rotating items after 2–3 hours helps.
- Use chemical warmers (hand warmers) wrapped in a cloth and placed near damp gloves or socks for a few hours; avoid direct contact with synthetic fibres to prevent melting.
Preventing odour, bacteria and mould
- Change base layers and socks daily; carry two pairs of base-layer tops and two–three pairs of hiking socks to allow rotation.
- Use a small amount of biodegradable soap for a nightly sink wash of base layers; rinse until suds are gone. Hang out to dry as above.
- Keep a small tube of anti-fungal foot powder or a few single-dose packets in your first-aid kit for damp-foot conditions common in December. Apply before sleeping if feet stayed wet.
Electronics and battery management in cold weather
Cold drains batteries rapidly. For a December 4 Kilimanjaro December Trekking Packing List, store spare batteries and power banks warm:
- Keep spare batteries and a power bank in an inner jacket pocket close to your body; only remove them when charging or using. For USB-lithium power banks, warm storage can extend usable life significantly.
- Carry charging cables and a small, lightweight solar cell only as a last resort—December’s intermittent cloud and short-rain conditions make solar unreliable. If you do carry one, keep it dry and deploy it on stable, sunny breaks.
- If you have a camera with removable batteries, store spare batteries in a dry bag at body temperature and swap them as needed rather than trying to revive a near-empty cold cell.
On-the-trail repairs and waterproofing maintenance
- Pack a small repair kit: needle and strong thread, a few metres of Tenacious Tape, a mini seam-sealer tube for wetting-out waterproof faces, and a couple of heavy-duty zip ties. Tenacious Tape patches wet areas quickly and weightlessly.
- Refresh DWR (durable water repellent) on outer shells with a travel-size spray-on or wash-in product if you notice persistent soaking. Small 30–60ml spray bottles are enough for the climb and fit in carry-on limits.
- Keep zippers lubed with a graphite or silicone zipper pull to prevent salt buildup from sweat and grit; this reduces failure risk in December’s mixed mud and dust conditions.
These practical, repeatable routines keep your kit functional across the microclimate changes expected for a December 4 Kilimanjaro trek. Small deliberate steps—daily wash and wring, warm storage for batteries, simple on-route repairs and modest waterproofing maintenance—preserve comfort and reduce the likelihood of gear failure when summit day arrives.
Packing distribution: what to keep in carry-on, daypack and porter duffel for a December 4 Kilimanjaro trek
One of the single most practical gaps for trekkers departing on a December 4 Kilimanjaro climb is deciding exactly which items travel in your carry-on (flight cabin bag), which live in your daypack while on the trail, and which go into the porter duffel. December’s mix of wet lower elevations and freezing summit conditions makes some items non-negotiable in your immediate control. Below is a clear, prioritized packing-distribution plan to reduce risk from delayed or lost checked luggage, keep you comfortable on wet days, and ensure summit day success.
Carry-on / flight-cabin essentials (what you must keep with you)
- Travel documents and copies: passport, visas, printed permit confirmation (if given), emergency contact, travel insurance details, plus digital scans stored offline.
- Prescription medication and a small, accessible first-aid kit: altitude medication (if prescribed), common OTCs, blister-care items, and any personally required drugs.
- Warm summit layers backup: lightweight down jacket or puffy, thin insulated trousers or long-johns, and a beanie. If your checked bag is delayed, these let you stay warm immediately on arrival and during any unexpected waits.
- At least one full change of base layers and a spare pair of socks: damp, cold conditions on December trails make having dry under-layers crucial if checked luggage is late.
- Electronics and chargers: phone, camera, power bank (carry-on required), spare batteries stored in protective sleeves, USB cables, and adapters. Keep these warm in an inner pocket during transit.
- Toiletry mini-kit and hygiene items: toothbrush, small toothpaste, hand sanitiser, travel tissues and a travel towel—enough to get through 24–48 hours if your main kit is delayed.
- Money and payment cards in a secure, concealed pouch—carry some cash in local currency after arrival if you can exchange at the airport.
Daypack (on-trail immediate-access kit)
Your 20–30L daypack is the working toolbox during each trek day, including summit day. For a December 4 Kilimanjaro departure prioritise:
- Shelter layers: waterproof breathable shell and a lightweight insulated jacket for walking breaks and evenings on the trail.
- Hydration: 1–2L bladder or bottles with water-treatment tablets in a small dry bag.
- Sunscreen and lip balm SPF 30–50, sunglasses (with strap), and a buff/face cover for dust and cold wind.
- Extra socks and thin glove liners for wet-mud sections; a compact warm hat and summit gloves if space allows.
- Headlamp (with spare batteries), snacks/high-energy food, compact sit pad, and a small repair kit (zip ties, multi-tool, Tenacious Tape patch).
- Personal documents photocopies and any small valuables you prefer to keep with you each day.
Porter duffel (what to pack for the porters to carry)
Items intended for the porter duffel should be things you won’t need between trailheads and camp nights. For December departures, organise the duffel so the most-used camp items are packed last (so they are removed first):
- Primary sleeping bag and sleeping pad that you don’t need until camp and bulkier spare clothing (extra mid-layers, spare trekking trousers, camp footwear).
- Main waterproofs you’ll swap into at camp, camp-only footwear (dry shoes or Crocs), and a change of bulky clothes not required during the day.
- Bulk toiletries, spare socks for the full trek, and bulky repair items like seam sealer or spare crampon straps.
- Check airline limits and operator porter weight rules (commonly 15–20kg per person); compress and distribute heavier items across group duffels if your operator allows consolidated packing.
Special considerations for December 4 departures
- Always keep summit gloves, warm hat, and your summit-layer puffy either in your carry-on or daypack—do not pack them in checked luggage. December summit nights can be abrupt; having immediate access prevents cold-related problems.
- Use waterproof dry sacks and pack liners for any items that could be damaged by December mud and rain. Put critical documents and electronics in two separate dry sacks for redundancy.
- Label every bag—porter-duffels and daypacks alike—with your name, group leader, operator contact number, and a second contact on a separate tag inside the bag. This speeds recovery if luggage is misplaced during the busy December travel period.
- If you fly through a carrier with strict carry-on rules, split immediate-need items between your personal item and a small backpack that fits under the seat; ensure medication and summit layers remain accessible.
Lost-checked-bag contingency plan
Prepare a two-day emergency kit in your carry-on: essential meds, a warm layer, spare base layers, socks, travel-size toiletries and a power bank. Also email or carry a digital photo of your checked bag contents and serials for high-value items—this simplifies insurance claims and airport tracing if the bag is delayed during the December travel peak.
Distributing kit thoughtfully between carry-on, daypack and porter duffel for your December 4 Kilimanjaro trek reduces stress, protects critical summit items from loss, and keeps you comfortable across damp forest trails and icy summit nights.
48–24 hours before your December 4 Kilimanjaro trek: final packing, testing and weight‑check checklist
The single most useful, missing piece for many trekkers is a concise final‑prep routine in the two days before departure. Use this timeline to avoid last‑minute surprises at the airport, ensure summit‑critical items are accessible, and confirm that wet‑weather contingencies are ready for December conditions.
Two days before departure (T‑48 hours)
- Lay out everything you plan to travel with and cross‑reference against your master packing list. Visually confirm summit essentials (summit jacket, insulated pants, spare summit gloves, balaclava/neck gaiter, thermal socks) are present and in either your carry‑on or daypack.
- Weigh your porter duffel and checked suitcase separately using a luggage scale. Adjust to meet airline checked limits and operator porter allowances; if over limit, move non‑essential bulky items (camp shoes, spare mid‑layers) into group duffels or leave behind non‑critical items.
- Test your electronics: turn on and fully charge headlamp, spare battery pack and camera. Power bank capacity should be verified by charging a device and confirming remaining capacity on the bank’s indicator; cold reduces output, so choose a higher capacity (10,000–20,000 mAh) if you rely on it for summit night photos.
- Inspect waterproofing: pour a small amount of water on jacket shell and daypack cover seams to confirm DWR and seam taping are functional. Apply one light treatment of spray‑on DWR if water beads poorly (do this only in a ventilated area and allow full drying before compression into luggage).
- Check your sleeping bag zipper, sleeping pad valves and crampon attachment straps. Make any repairs now with replacement parts or Tenacious Tape rather than improvising on the trail.
24 hours before departure (T‑24 hours)
- Assemble a summit‑day ready kit and place it in your carry‑on or the top pocket of your daypack: summit jacket, insulated pants, two pairs of warm gloves (inner liners + overmitts), balaclava, spare heavy socks, headlamp with fresh batteries, emergency foil blanket, small snack and a 500–750 ml water bottle. Seal this kit in a waterproof dry sack labelled “SUMMIT KIT – DO NOT CHECK”.
- Final medical check: confirm you have your prescribed diameter of altitude medication, a printed medication list, and allergy card (if applicable). Place medications in your cabin bag where they’re accessible and not exposed to freezing temperatures in checked luggage.
- Do a practice pack: load your daypack with the items you plan to hike with for the first day and walk for 20–30 minutes with it. Confirm shoulder strap comfort, hipbelt fit and that the pack’s weight distribution feels stable. Rearrange heavier items close to the hips if the pack feels top‑heavy.
- Label and duplicate: place two contact slips inside each bag (inside pocket and sewn‑in label): your name, operator contact, emergency contact back home. Photograph each packed bag and email those photos to your emergency contact and to yourself for insurance ease in case of loss.
- Charge and protect: fully charge all devices, then place spare batteries and the power bank into an inner jacket pocket to keep them warm during travel. Remove memory cards from cameras and carry them in a small protective case in your carry‑on.
Departure morning checklist (airport readiness)
- Weigh carry‑on and checked bags at home or at the airport. Confirm carry‑on fits airline size and weight limits—if your operator recommends extra summit items in carry‑on, ensure there’s room after airport security checks.
- Quick security: secure liquids (toothpaste, sunscreen) to 100ml domestic/airline rules for your route; keep a small toiletries kit accessible for arrival. Put wet‑weather items (compact rain poncho, pack cover) at the top of your daypack for immediate access on arrival in Tanzania, where December showers can start unexpectedly.
- Final hydration and food: carry an empty collapsible bottle through security to refill after arrival and a couple of easy, high‑calorie snacks (energy bars, nuts) in your cabin bag for the first evening if luggage is delayed.
Communication with your operator and porter briefing
Before leaving, confirm with your operator the porter allocation and any group consolidation plan. If your operator allows combining heavy items across duffels, agree in writing (email or message) who carries which shared item. If you have sensitive or valuable items that must not be carried by porters, label them clearly and keep them with you.
Checklist summary (printable)
- Summit kit in carry‑on (dry sack): yes / no
- Medications in carry‑on: yes / no
- Luggage weighed and adjusted: yes / no
- Electronics charged and warm‑storage planned: yes / no
- Bags labelled inside and out: yes / no
- Operator/porter plan confirmed: yes / no
Follow this 48–24 hour routine and you’ll reduce common December travel risks: frozen batteries, missing summit layers, overweight bags and last‑minute repairs. The payoff is simple—your summit night and the first wet trail sections will be handled calmly and with the right gear at hand.
Nutrition, snacks and hydration strategy for a December 4 Kilimanjaro trek
One remaining, highly practical gap for December 4 trekkers is exactly how to manage nutrition and fluids across cold, wet lower-elevation days and a very cold, high-effort summit night. Proper on-trail food planning reduces energy dips, improves acclimatisation, and prevents the appetite-suppression that often happens in cold weather. This section explains what to carry, how much to eat, when to drink, and where to store snacks so they remain available and functional through the day and on summit night.
Daily calorie targets and macronutrient balance
Expect your energy needs to rise substantially while trekking Kilimanjaro. A good practical target is roughly 2,500–4,000 kcal per day depending on walker size, pace and route difficulty. Aim for a mix of carbohydrates (for immediate energy), moderate protein (for muscle repair and satiety) and fats (dense calories that help warm you and sustain longer effort). Pack concentrated calorie sources rather than bulky foods: dense bars, nuts, nut butters and dehydrated meals (if you prepare your own). On very long summit days you may need to push toward the higher end of the range—plan snacks so they deliver easily accessible carbs every 60–90 minutes.
Best snack types for December conditions
- High-energy bars: Choose bars with 250–400 kcal each and a balance of carbs and fats (oat/peanut blends are common). Keep a few in your daypack and the rest in the porter duffel.
- Nuts and seeds: Small, calorie-dense and stable in cold; pack in resealable bags. Combine with dried fruit for quick sugar.
- Energy gels/chews: Useful on steep sections or summit pushes—store close to your body so they don’t freeze.
- Instant hot drinks: Tea, coffee, or instant electrolyte powders are morale boosters at camp and on cold mornings; include a small insulated mug or thermos.
- Electrolyte tablets/powders: Cold reduces thirst awareness but you still sweat; add salts to water to avoid hyponatraemia when you drink large volumes.
- Small packets of peanut butter or honey: High-calorie, quick-fuel options that tolerate cold better than some gels.
- Emergency calorie: Keep one high-calorie emergency bar (400–600 kcal) in an easily accessible pocket for when you feel lightheaded or have a delayed meal.
Hydration tactics for cold and wet conditions
Cold air and December showers create two opposing risks: reduced perceived thirst (leading to under-hydration) and wet clothing that makes you feel soggy but still dehydrated. Carry at least 1–2 litres accessible in your daypack and plan to refill at camp or with treated stream water if your operator supplies regional water sources. Use insulated hydration sleeves or keep water bottles inside your jacket overnight to prevent freezing on summit approaches. Sip steadily—aim for 500–750 ml per hour on hard summit pushes, and at least 2–3 litres across a typical trekking day, more if you sweat heavily.
Summit-night and summit-day nutrition plan
Summit night is the most delicate period: long exertion, cold, high altitude and reduced appetite. Prepare a compact summit fuel kit in your daypack or carry-on top pocket: two high-calorie bars, one packet of gels or chews, one small bag of nuts/dried fruit, electrolyte powder sachets and a small insulated flask with a warm drink. Eat small, frequent bites rather than a large meal; even 100–150 kcal every hour helps maintain pace and body heat. Consider a small, fast-digesting carbohydrate (a gel or honey stick) in the final hour if you feel the energy drop. Keep fluids warm in an insulated bottle and sip often; warm liquids aid circulation and help stave off hypothermia symptoms.
Food storage, distribution and porter coordination
Divide food by immediate need: place summit and daily snacks in your daypack so they are always accessible; heavier or bulkier items (extra bars, full packets of nuts, camp cooking extras if you pack them) can go in the porter duffel. Label any personal snacks you definitely want available each day and tell the head guide so porters can prioritise placing them at the top of the duffel at camp. Keep any items vulnerable to moisture in small dry sacks, and keep one small plastic bag for disposing wrappers—leaving no trace is part of group etiquette and operator rules.
Practical packing checklist (snacks & hydration)
- 2–4 high-energy bars per hiking day (plus 2 extras for summit day)
- 200–300 g mixed nuts and dried fruit (divided into daily portions)
- 3–6 electrolyte sachets and 4–6 instant hot drink sachets
- 1 insulated thermos (0.5–1 L) for summit-night warm drinks
- 1 emergency high-calorie bar in daypack pocket
- Resealable dry sacks for moisture protection
Following this nutrition and hydration strategy on a December 4 Kilimanjaro trek means fewer performance dips, better warmth management, and a lower risk of altitude-related fatigue. Prioritise accessible, calorie-dense, moisture‑resistant snacks, keep fluids warm and sipped regularly, and coordinate with porters so your daily essentials are always on top when camp is set.
Emergency summit‑delay kit: what to carry and why
One practical gap many trekkers do not fully plan for is the possibility that summit efforts on a December 4 Kilimanjaro trek stretch far longer than scheduled because of slow group pace, weather hold‑ups, or route congestion. A deliberate, compact emergency summit‑delay kit in your daypack or top of carry‑on can mean the difference between staying warm and mobile or being exposed to serious cold risk above 4,500 m. Below is a prioritized list of items, how to carry them, and exactly when to use each item.
Why carry an emergency kit for summit delays?
Summit-night hours are already long, cold and strenuous; delays increase exposure time, raise caloric requirements, and accelerate heat loss. At high altitude you also have reduced dexterity and decision-making speed, so a simple, well-organised kit that you can access and use without fumbling is essential. Prioritise lightweight, high‑impact items you can deploy immediately.
Essentials (must be with you on summit night)
- Compact emergency bivvy or 2‑person foil bivvy (weight ~150–250 g): A minimalist, windproof shelter that traps some body heat and shields from wind-driven moisture. Keep it in an easy‑to‑reach top pocket of the daypack or in your carry‑on if the operator allows.
- Single emergency foil blanket (space blanket) and small emergency sleeping bag liner (e.g., lightweight poly‑fleece liner) (combined ~120–250 g): Fast to deploy for core warmth and reduces heat loss while waiting or for a short rest stop.
- 2–4 chemical heat packs (hand/foot warmers): Store inside an inner jacket pocket; have one openable pack to tuck into gloves or boot tops immediately if you feel intense cold.
- Extra high‑calorie emergency ration (400–600 kcal compact bar or compressed meal): Easy to chew under exertion and cold—store in an outer daypack pocket where you can reach without taking off gloves.
- Insulated flask (small, 300–500 ml) with a hot carbohydrate drink: Pre‑fill at camp before starting the summit push and keep it inverted under your insulated jacket to preserve warmth; sip frequently.
- Spare pair of insulated over‑gloves and a thin glove liner: If one glove gets wet or lost, you can swap quickly to protect fingers from numbness and frost‑injury risk.
- Headlamp with fresh batteries and a backup small light stick: Early night and late descents require reliable lighting; keep headlamp easily accessible in the daypack top pocket.
Secondary items (strongly recommended if you have the carry capacity)
- Emergency whistle and small nylon cord (for signalling and tying items down).
- Small medical foil dressing and blister kit (sterile pads, moleskin, adhesive tape): Preventing a painful blister can keep you moving and reduce overall time exposed to cold.
- Compact windproof shell (packable 150–250 g) if not worn: In some groups people alternate who wears the shell; having one spare helps if someone has soaked layers.
- Lightweight down booties or insulated gaiters: If you expect long waits at the crater rim or group holds, slipping into insulated booties saves core energy.
How to pack and position the emergency kit
- Place the emergency bivvy, foil blanket and emergency bar in the top pocket of your daypack so you can reach them with gloved hands without opening the main compartment.
- Store chemical heat packs and spare gloves in an inner jacket pocket close to your chest to keep them warm and extend their working life.
- Keep the small insulated flask in an insulated sleeve or wrapped in a mid‑layer and, if possible, inside your jacket to stop it cooling quickly.
- Label the kit components (small waterproof tag) and briefly rehearse deployment at camp—spending two minutes practicing putting on spare gloves, unrolling the bivvy and using heat packs reduces fumbling during a real delay.
When and how to use the kit
- If pace slows and you stop for more than 10–15 minutes above 4,000 m, deploy one chemical heat pack into gloves or near neck openings and consume a high‑calorie bite immediately.
- At rest stops where winds pick up, shelter with the foil bivvy and wrap the emergency blanket around your torso; keep moving toes/fingers inside spare gloves and change to dry liners when possible.
- If someone in the group shows signs of hypothermia or severe fatigue, create a sheltered micro‑camp with the bivvy and blanket while you rewarm with hot drinks and calorie intake; always alert the guide and follow their medical protocol.
On a December 4 Kilimanjaro summit night, planning for delays is not pessimism—it’s practical risk management. A deliberately small, well‑organised emergency summit‑delay kit consumes a little carry weight but delivers outsized protection and peace of mind when conditions stretch beyond schedule.
Related Guides and Packages
Check Availability for December 4, Kilimanjaro Trekking Packing List
Ready to compare dates, prices, and the best option for your group? Send the package name and travel month so the team can reply with a clear quote, availability, and what is included.
6 Days Marangu Kilimanjaro Hut Trekking – 6–11 December 2026
6 Days Marangu Kilimanjaro Hut Trekking – 6–11 December 2026.
View package details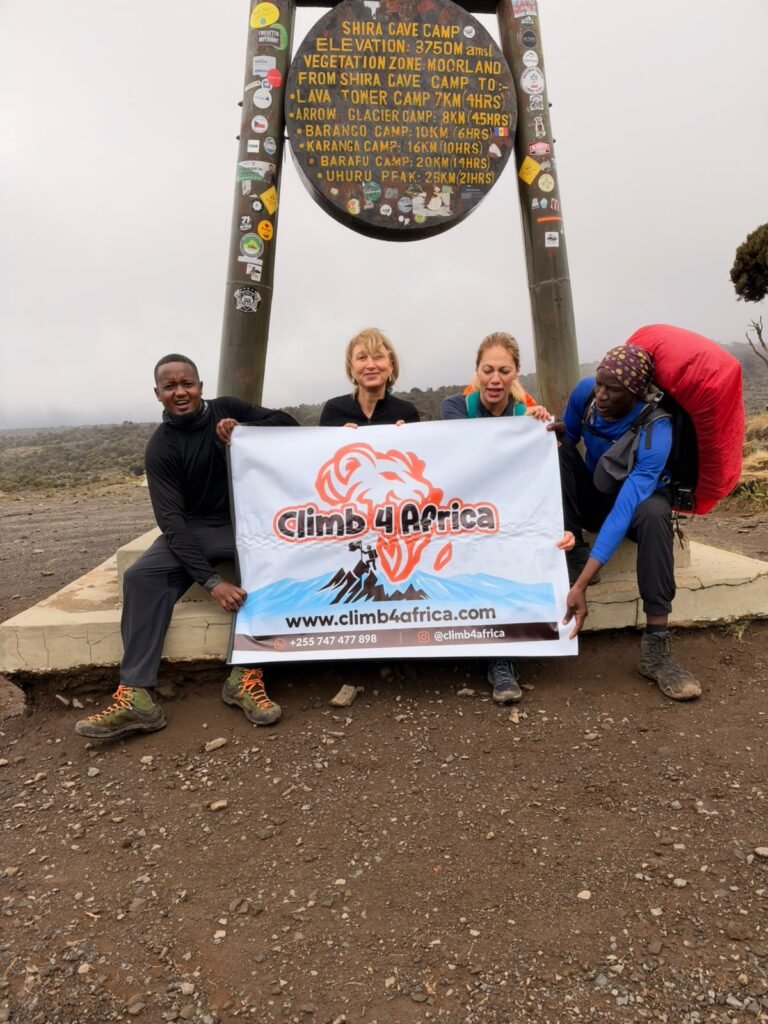
December 4, Kilimanjaro Budget Trekking With Shared Group
December 4, 2026 Kilimanjaro Budget Trekking with Shared Group.
View package details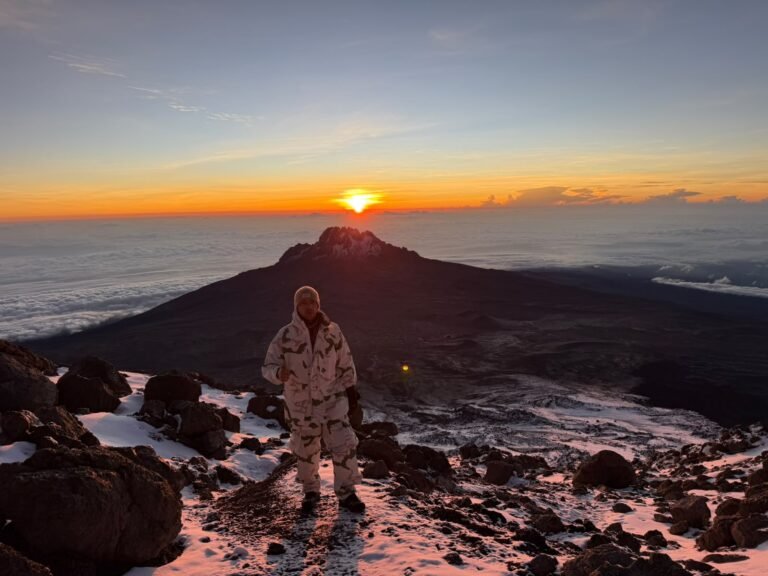
10 Days Northern Circuit Kilimanjaro Christmas Holiday Trek – 21–30 December
10 Days Northern Circuit Kilimanjaro Christmas Holiday Trek – 21–30 December 2026.
View package details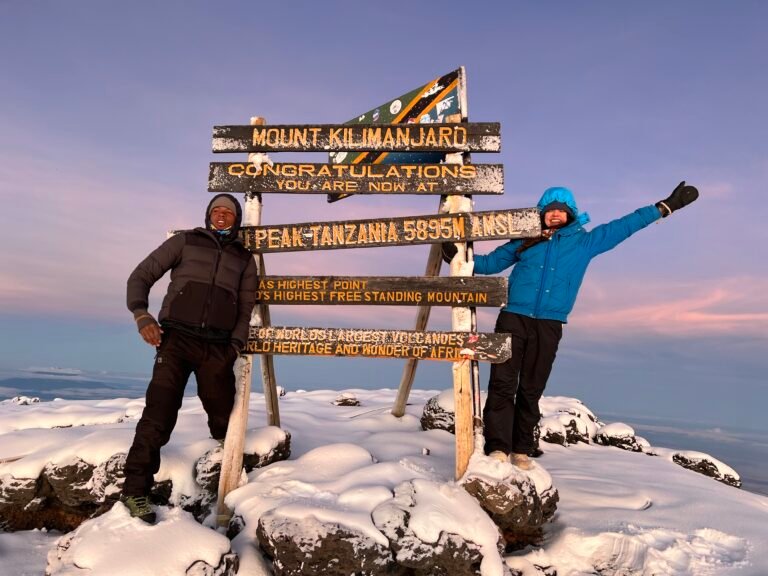
6 Days Rongai Route Kilimanjaro Hiking – 6–11 December 2026
6 Days Rongai Route Kilimanjaro Hiking – 6–11 December 2026.
View package details5 Days Marangu Kilimanjaro Christmas Trek – 22–26 December 2026
5 Days Marangu Kilimanjaro Christmas Trek – 22–26 December 2026.
View package details5 Days Marangu Kilimanjaro New Year Trek – 29 December – 2 January 2026
5 Days Marangu Kilimanjaro New Year Trek – 29 December 2026 – 2 January 2027.
View package details6 Days Marangu Kilimanjaro New Year Climb – 28 December – 2 January 2026
6 Days Marangu Kilimanjaro New Year Climb – 28 December 2026 – 2 January 2027.
View package details6 Days Marangu Kilimanjaro Christmas Holiday Climb – 21–26 December 2026
6 Days Marangu Kilimanjaro Christmas Holiday Climb – 21–26 December 2026.
View package details5 Days Marangu Kilimanjaro Full Moon Trek – 21–25 December 2026
5 Days Marangu Kilimanjaro Full Moon Trek – 21–25 December 2026.
View package details6 Days Marangu Kilimanjaro Full Moon Climb – 20–25 December 2026
6 Days Marangu Kilimanjaro Full Moon Climb – 20–25 December 2026.
View package details5 Days Marangu Kilimanjaro December Trek – 19–23 2026
5 Days Marangu Kilimanjaro December Trek – 19–23 December 2026.
View package details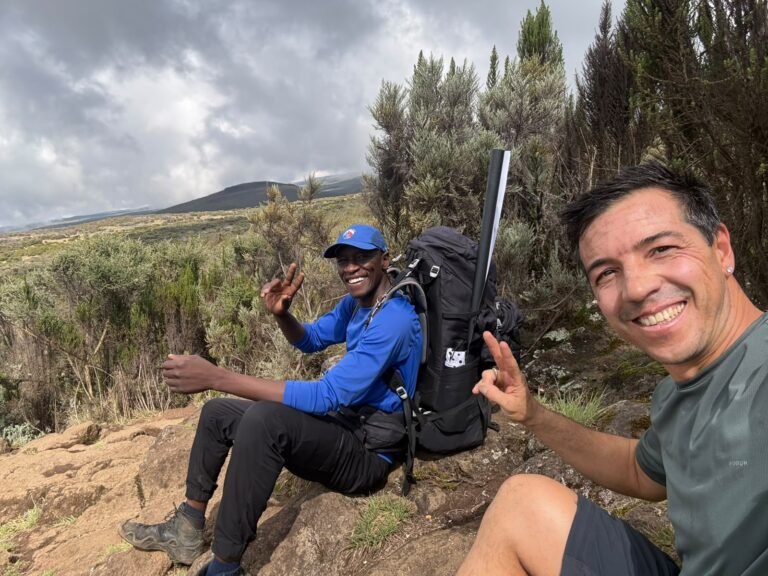
6 Days Marangu Kilimanjaro Group Hiking – 9–14 December 2026
6 Days Marangu Kilimanjaro Group Hiking – 9–14 December 2026.
View package detailsNo related package matches those filters. Clear one or more filters to see the other topic-matched options.