
The 12 Days Rongai Route and Tanzania Wildlife Safari is a bookable, day-by-day plan that threads a Kilimanjaro ascent along the Rongai Route with a multi-park Tanzania safari. It starts with a gradual Kilimanjaro ascent designed for acclimatization, followed by a structured safari circuit through northern Tanzania’s key parks, with realistic driving times, lodge or tented camp stays, and flexible wildlife-viewing opportunities. Availability, exact departures, and current prices must be confirmed with Climb 4 Africa, but the route sequence, lodging types, and practical transitions are laid out for planning a feasible, in-depth 12-day experience.
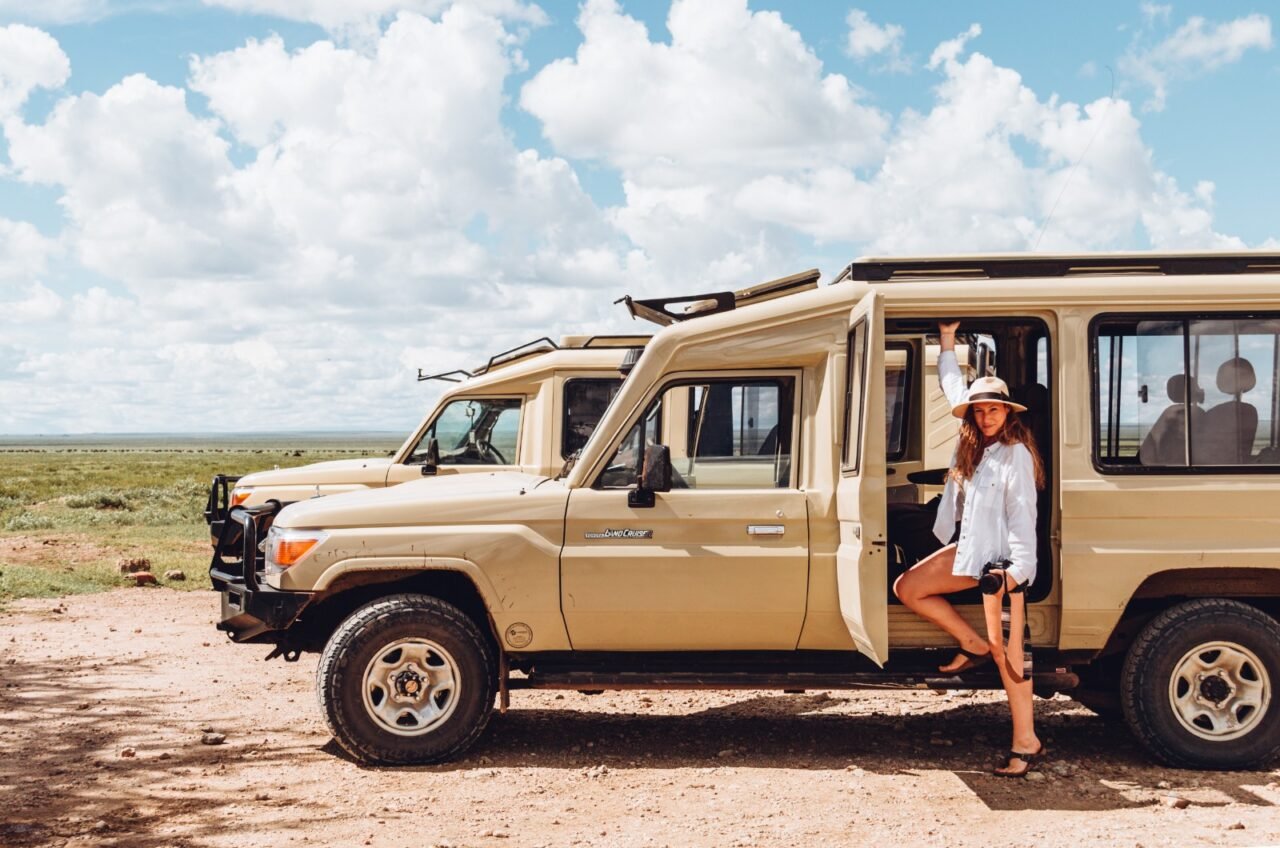
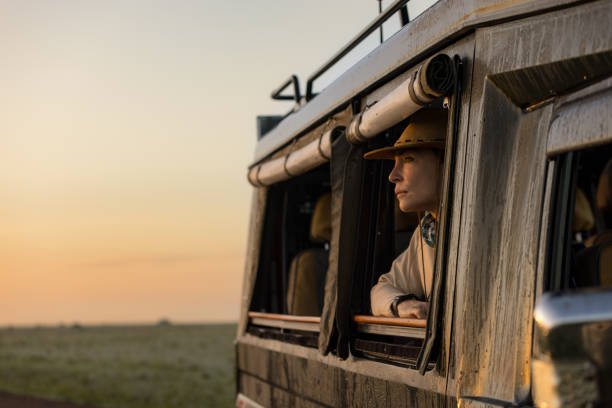
Day 1–2: Arrival and transfer to Moshi or Arusha base
Arrive at Kilimanjaro International Airport and transfer to a comfortable base near Moshi or Arusha. The first 24–48 hours are about rest and acclimatization prep, gear check, and a briefing with your guide. You’ll review the Rongai Route logistics, car transfers for the safari portion, and any permits required. This is your buffer to settle in, test equipment, and align expectations for altitude and safari driving pace. Accommodation is typically a comfortable lodge or guesthouse with easy access to the trailhead for a pre-dawn departure on Day 3.
Day 3: Rongai Route start — Nalemoru Gate to Simba Camp
Begin the Rongai Route from the Nale Moru (or similar) gate, descending into a forested slope with gradual altitude gain. The first trekking day establishes the pace: shorter hiking hours and a focus on steady breathing and hydration. The route climbs to a basic campsite or a fixed tented camp, where meals and a simple rest routine help with acclimatization. Expect cooler evenings and the first glimpses of Afro-alpine vegetation.
Day 4: Rongai ascent — Simba Camp to Second Cave
Progress comes with a modest altitude gain. The landscape shifts toward heath and moorland as you climb, with breaks for hydration and snack stops. Your guide monitors breathing rate and symptoms of acclimatization. The day ends at a designated camp or shelter, where a hot meal and a short briefing on the next day’s route set the tone for continued adaptation.
Day 5: High camps and acclimatization emphasis
This day’s tempo is deliberately slower to assist acclimatization. You’ll pass through distinct alpine zones and encounter panoramic views toward the northern Rift Valley. The lodge or camp environment remains comfortable, with reliable meals and a focus on rest. The aim is to reduce fatigue ahead of the heavier summit push, not to pressure the ascent.
Day 6: Summit attempt window opens — Uhuru Peak logistics begin
With two high camp nights behind you, you’re positioned for a summit window. You’ll begin the final push after a pre-dawn start, with steady climbs, a short rest at Stella Point if needed, and a descent to Barafu or similar high-camp-style campsite for an overnight rest ahead of the sunrise summit attempt. The Rongai Route remains one of the gentler trajectories for acclimatization, though weather and pace always govern the exact timing.
Day 7: Summit and descent to Marangu Gate or a designated finish point
Ascending to Uhuru Peak is the centerpiece for many trekkers, but the day also centers on a cautious descent. After summiting, you’ll retrace steps to a lower point for a protected overnight and a celebratory but realistic wrap to the Kilimanjaro portion. This day emphasizes safe altitude management and a mindful approach to fatigue, with contingency plans if weather or fatigue affects the planned schedule.
Day 8: Transfer from Kilimanjaro corridor to Tarangire National Park
Post-Kilimanjaro, you’ll start a full-day transfer toward Tarangire. Expect long, scenic drives with occasional stops for lunch and breaks. Tarangire’s landscapes promise a different safari rhythm—acacia woodlands, riverine habitats, and the possibility of elephant herds gathering near watering holes. Evening check-in at a lodge or tented camp along the park boundary sets the stage for a wildlife-forward stretch.
Day 9: Tarangire Safari — full day with a licensed guide
Tarangire offers big-tent-like skies and elephants as a constant companion. Your day unfolds with a morning and late-afternoon game drive, keeping a flexible schedule for wildlife pauses, picnic lunches, and photography breaks. Your guide emphasizes respectful viewing rules, safe distances, and the likelihood of seeing herds of elephants, savannah zebra, and diverse birdlife. Lodging is typically in a strategically located camp or lodge with easy afternoon access to heat and rest after a full day in the field.
Day 10: Ngorongoro Conservation Area or Lake Manyara corridor
Today takes you to a contrasting ecosystem: either Ngorongoro’s crater floor or the forested hills around Lake Manyara. Ngorongoro is a high-potential wildlife zone with a rugged geological backdrop; Manyara offers lush forests and tree-climbing lions in season. The day balances driving time with safari activity, including a picnic lunch near a scenic overlook. Accommodation options pivot on proximity to the crater rim or park boundary for optimal morning game drives.
Day 11: Serengeti corridor transfer or northern circuit safari wrap
A long, scenic drive positions you for a final taste of Tanzania’s wildlife diversity. If you’re following a northern circuit, you’ll cover seasonal routes that reveal vast plains, migrating herds, and a spectrum of predators. Expect flexible safari stops, a focus on responsible wildlife viewing, and an overnight stay at a lodge or seasonal camp that balances comfort with wilderness immersion.
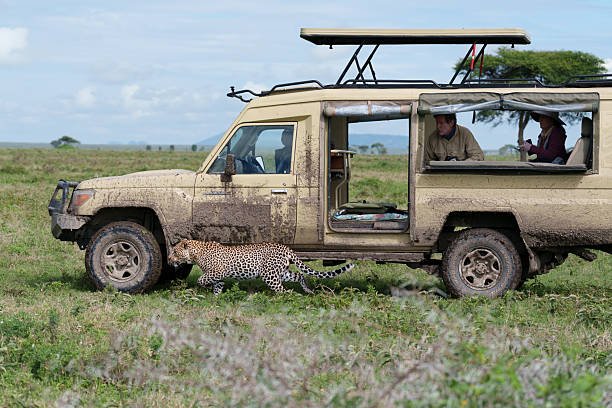
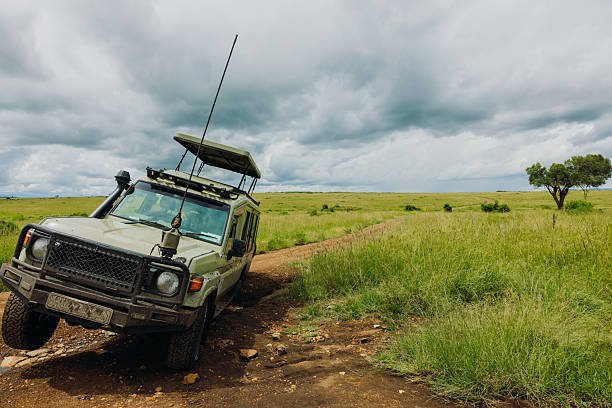
Day 12: Return to Arusha via flight or road transfer
Your concluding day ties together park experiences with a practical transfer back to Arusha or Moshi. Depending on flight schedules, you may have a final short game-viewing drive before heading to the airport or an overnight in town to catch a late departure. If you’re continuing to Zanzibar or another extension, your guide can coordinate onward logistics with your preferred option.
Practical planning notes and decision points
- Logistics: This plan blends physically demanding Kilimanjaro trekking with a multi-park safari circuit. Transfers between the mountain and safari venues are arranged by the operator and vary by season, road conditions, and group size.
- Acclimatization: Rongai Route is chosen for a gradual ascent, aiding acclimatization. If you’ve had altitude challenges in the past, you may discuss a shorter Kilimanj
Day-by-day gap-clarifying details for Days 2 and itinerary transitions
With Days 1 and 3–12 already established in the article, the most valuable addition for readers seeking a precise, bookable plan is a focused clarification of Day 2 as part of the overall sequence. Day 2 sits as the acclimatization and pre‑trek preparation window between arrival and the Rongai Route start. Here, the wording below preserves the existing voice and structure, while anchoring Day 2 activities to concrete, reader-friendly decisions without asserting unverified schedules or specific operator arrangements.
Day 2 overview: The buffer day between airport processing and the Rongai start is dedicated to acclimatization, gear finalization, and route confirmation conversations with the guide team. The aim is to align expectations for altitude, pacing, and the forest-to-moors transition that characterizes the Rongai ascent. Readers should anticipate a relaxed morning to allow for jet lag recovery, followed by a guided gear check—verifying rain gear, thermals, hiking boots, gaiters, headlamp, and basic first-aid supplies. This day also offers a practical opportunity to discuss any personal health considerations, altitude sensitivity, and altitude‑related symptoms to watch for on the climb.
Where you stay: Day 2 lodging tends to be a comfortable base with straightforward access to the trailhead or a pre‑dawn transfer point. The goal is to minimize unnecessary travel after Day 2 so the group can depart early on Day 3 with fresh energy. The accommodation choice typically prioritizes warm communal areas, reliable heating, and quiet rooms for rest. If a pre‑trek briefing is offered on this day, it should cover emergency procedures, withdrawal options, and contingency plans should weather or health require adjustments.
What happens on Day 2 in practice: A typical Day 2 structure includes a late morning or early afternoon briefing, a light afternoon acclimatization walk (optional) to gently re-engage with altitude and temperature changes, and a focused equipment check with the guides. Hydration strategies are reinforced, and snacks are prepared for the first ascent day’s exertion. Conversation with the guide team often revisits pace expectations, rest breaks, and how to identify fatigue versus acclimatization signs. The practical outcome is a confident, cohesive start on Day 3 with clear roles and safety signals established.
Why Day 2 matters for the overall itinerary: Because the Rongai Route emphasizes a gradual ascent, the Day 2 acclimatization window supports reduced risk of altitude-related sickness and improves the likelihood of a steady, sustainable climb through the early forest zone on Day 3. This day also anchors the park-to-mountain transition—ensuring travelers are rested and prepared for the first day’s terrain change from forest to heath and moorland as altitude rises. The Day 2 checklist helps readers compare lodging options, briefing quality, and the degree of pre‑trek support offered by different operators.
Reader questions readers often ask about Day 2: How strict is the Day 2 acclimatization requirement if a traveler has mountain experience? Can Day 2 accommodations affect the pace or mood of Day 3? Are there optional excursions on Day 2 that won’t jeopardize the early start but help with acclimatization or cultural insights? The guidance provided emphasizes conservative pacing, listening to guide instructions, and using the buffer day to confirm all equipment and health readiness before the high-elevation ascent begins.
Day 2 Deep Dive: Acclimatization, Gear Readiness, and Pre‑Trek Logistics
Day 2 in the 12 Days Rongai Route and Tanzania Wildlife Safari plan functions as a critical bridge between the airport layover and the mountain’s ascent. It is not a day for pushing hard; instead, it is when you cement your body’s readiness for elevation changes and align every moving part of the trip for a smooth, on‑schedule climb. Expect a calm rhythm that balances rest, practical gear checks, and precise logistical confirmations with your guide team.
Morning briefing and equipment validation form the backbone of Day 2. Guides review weight limits for personal packs, confirm the distribution of group gear, and verify that essential items—headlamps, batteries, spare socks, and weather‑appropriate layers—are in working order. If you are travelling with a camera or sensitive electronics, the guides often provide a secure bag and offer tips on protecting equipment from dust and sudden temperature shifts during pre‑dawn transfers on Day 3.
Acclimatization emphasis during this day is deliberately modest. A short, optional walk within a nearby acclimatization route helps your lungs and circulatory system adapt to cooler air and higher altitude. The walk is designed to be light—no steep ascents or fatiguing climbs—so you can gauge how your body responds without risking fatigue that could impact Day 3’s early start. Hydration continues to be a focal point; guides may demonstrate a simple hydration plan tailored to your body type and prior altitude experience, including the timing of water and electrolyte intake to minimize headaches and dehydration symptoms.
Logistical decisions on Day 2 often include finalizing your exact transfer plan from Moshi/Arusha to the Rongai trailhead on Day 3. Your operator may confirm pickup times, transport vehicles, and potential contingencies for delays caused by weather or road conditions. It is common to review a small checklist: passport copies, emergency contact numbers, insurance details, and any medical equipment you carry, such as inhalers or altitude‑related medications, should be easily accessible during both the drive and the trek.
The cultural and environmental orientation on Day 2 is subtle but useful. Some operators coordinate a brief, low‑impact visit to a nearby market or a cultural guide who explains local customs, basic Swahili phrases, and etiquette when passing through communities on the way to Kilimanjaro’s northern flank. These experiences enrich the travel narrative without adding significant strain to your acclimatization window.
Lastly, Day 2 is the chance to adjust expectations in real time. If a member of the group reports mild altitude discomfort in the late afternoon, guides will adjust an anticipated early bedtime, ensure additional rest periods, or reallocate minor gear items to optimize balance and warmth. The overarching purpose is to arrive at Day 3 with everyone in the best possible physical and mental state—ready to embrace the climb’s gradual ascent from forest to heath and beyond.
Day 2 Gap-clarifying details: acclimatization logistics, gear readiness, and transfer contingencies
Following the existing Day 1–2 framework, Day 2 remains the pivotal bridge that converts airport arrival into a sustainable ascent rhythm. The practical heart of Day 2 lies in translating initial rest into controlled physiological adaptation while locking in the non-mountain logistics that will shape the entire journey. This section adds concrete, bookable considerations for readers who require a clear, actionable snapshot that aligns with the stated sequence without duplicating prior descriptions.
Acclimatization tempo and breath-work integration. On Day 2, the plan articulates a structured acclimatization loop that balances light activity with ample rest. Operators typically schedule a gentle forest or gentle hillside walk in the late morning or early afternoon, capped by a return to camp or lodge for electrolyte-rich beverages and light carbohydrates. The objective is to avoid fatigue while allowing initial renal and respiratory adjustments to take root. If any participant reports mild dizziness or headaches, the crew responds with adjusted pacing, an extended rest period, and, if needed, an optional under-2-km acclimatization stroll that keeps the heart rate within a safe range. This explicit pacing is designed to minimize the risk of Day 3 fatigue and optimize Day 3 performance rather than pushing through early signs of altitude stress.
Gear readiness verification with a practical checklist. Day 2 solidifies gear readiness through a standardized, concise inventory focused on reliability and weather resilience. The checklist includes: sleeping system integrity (bed roll or tent, bag, liner), clothing layers aligned to Kilimanjaro’s diurnal range (base layer, insulating mid-layer, windproof outer shell, hat, gloves, gaiters), hydration solutions (water bottles or hydration bladder with clean capacity), headlamps and spare batteries, and trekking poles (adjusted for user comfort). Guides and porters perform a quick functional test—ensuring zippers operate smoothly, boots are still supportive, and socks are dry or properly insulated if damp from early-era rain. For electronics, a water-resistant, dust-sealed bag is offered to protect cameras, GPS devices, and spare batteries during pre-dawn transfers on Day 3. This level of verification reduces last-minute surprises, supporting a smoother ascent cadence from the forest into the high moorlands on Day 3.
Transfer logistics consolidation and contingency planning. Day 2 is the day to lock precise transfer windows from Moshi/Arusha to the Rongai trailhead on Day 3. The operator’s planner will confirm pickup points, vehicle type, and estimated transit duration with a buffer for weather or road conditions. Contingencies typically include alternative departure times, a standby vehicle, or a small buffer in the morning schedule to absorb delays without pressuring the ascent start. This planning emphasizes a predictable start for Day 3, reducing stress and ensuring groups begin the Rongai route with a calm, coordinated handoff. It also documents emergency contact channels and local guide micro‑routing notes should a participant require a quick medical check or rest break before the ascent begins.
Short cultural and environmental orientation as a value-add. A low-key, nonintrusive Day 2 activity offers a gentle immersion into local culture without compromising acclimatization. A brief visit to a nearby market or a short chat with a local guide can provide context—basic Swahili phrases for greetings, respect for community spaces, and an outline of expected etiquette during the road transfer. This enhances the reader’s sense of place without adding pressure to the acclimatization window. The cultural engagement remains optional and is designed to be adaptable to group preferences and energy levels after travel fatigue and time-zone adjustments.
Medical and safety preparedness for Day 3 onward. Day 2 confirms the medical readiness posture: verification of any altitude-related medications, inhalers, and emergency contact cards readily accessible during the vehicle transfer and the early climb. A brief refresher from the guide on recognizing early signs of altitude sickness—headache, nausea, dizziness, sleep disturbance—empowers travelers to report symptoms promptly. The Day 2 plan reinforces the importance of staying hydrated and maintaining a stable sleep routine as the group transitions to the Rongai Route’s more gradual ascent, minimizing the risk of overexertion during Day 3’s initial forest walk.
Decisions and transparency around accommodations and meals for Day 2. Readers benefit from clarity about the type of base lodging for Day 2—likely a comfortable lodge or guesthouse with reliable meals and a secure space for equipment. The narrative emphasizes that meals on Day 2 center on balanced, energy-dense offerings tailored to prep bodies for elevation changes, with options for light lunches and early dinners that align with an early wake-up for Day 3. This level of detail helps readers align expectations with the practical realities of a high-demand trekking itinerary, ensuring they feel prepared without over-committing to a rigid schedule.
In sum, Day 2 content should remain tightly aligned with the established structure—acclimatization readiness, gear integrity, transfer certainty, and cultural context—without rehashing Day 1 descriptions or Day 3 ascent specifics. The emphasis is on turning the bridge into a clearly navigable transition that readers can plan around, reducing ambiguity about what to expect and what to prepare for as they cross from airport arrival to the Rongai Route’s forested start.
Gap-Discovery Focus: Day 2 Logistics Beyond Acclimatization and Gear Readiness
The Day 2 section of the 12 Days Rongai Route and Tanzania Wildlife Safari already outlines acclimatization preparation and pre-trek logistics. A practical reader-facing question that remains pertinent is how to align internal timing and external services so that the transition from airport to mountain base occurs with minimal friction, while still honoring the need for rest and altitude-friendly pacing. This hinge point can determine the overall comfort and pace of the subsequent days without introducing new destinations or duplicating Day 1 content.
One concrete improvement to the Day 2 narrative is an explicit, time-bound transition plan that keeps the group within a single, predictable sequence from arrival to pre-dawn departure on Day 3. The plan should map luggage handling, vehicle handoffs, and briefing windows to a fixed clock, recognizing that flight delays, customs queues, and domestic transfers can compress or stretch the available time. By detailing contingency windows and communicating to travelers what to expect at each stage, the reader gains a clearer mental model of how Day 2 becomes a reliable bridge rather than a potential bottleneck.
Practical sequencing and timing: begin with a mid-morning arrival window at the base hotel, allowing a quiet check-in period and a light lunch that emphasizes hydration and energy balance. A structured mid-afternoon gear check should occur after a brief rest, with a dedicated station for packing verification, weather-appropriate layers, and altitude-sickness awareness materials distributed in small, portable formats. This keeps the group aligned without resorting to a formal, lengthy briefing that might fatigue travelers who have already endured long travel times.
Transfer contingencies, a critical Day 2 detail, should be presented with explicit options. If Kilimanjaro International Airport is delayed, a designated backup transfer plan should outline later pickup times, alternative routes to Moshi or Arusha, and re-sequenced briefing slots. Conversely, if arrival is smoother than expected, the plan should include optional, light activities that reinforce acclimatization without overexertion, such as a guided stroll in a nearby garden, a short cultural chat, or a passive gear inspection in the lounge area. The underlying philosophy is to avoid idle downtime that may increase traveler fatigue or anxiety about the upcoming climb.
Gear readiness and packing discipline on Day 2 should be anchored to the actual checklists used by the operator, without duplicating earlier Day 2 content. The revised narrative can include a concise, traveler-friendly checklist split into essential items (documentos, medications, basic first aid) and climbing-related items (layers, rain gear, headlamp, trekking poles). Emphasize that the goal is not to curate a flawless kit, but to confirm that each participant can respond to modest altitude and weather shifts on Day 3’s forested terrain with confidence and minimal improvisation.
Medical and safety readiness is a vital strand that deserves a clear, reader-actionable outline on Day 2. The article can specify where and when to present medical information to the guide team, how to verify inhaler access for asthma or COPD, and how to carry emergency contact cards in a shared, easily accessible location. A brief, simple symptoms guide—headache, nausea, dizziness, sleeplessness—paired with a contact protocol for the fastest route to medical help, elevates traveler safety without overloading readers with medical jargon. The goal is to normalize early recognition while preserving the Day 2 tempo that supports acclimatization in the days ahead.
Accommodation and meal clarity is another actionable component. The Day 2 segment can specify typical lodge characteristics in neutral terms (smaller footprint, secure storage, reliable dining hours) and summarize expected meal patterns that align with early wakes on Day 3. If multiple lodging options exist within the same base area, offer a decision framework: choose proximity to the trailhead for earlier starts, or prioritize a quieter room for better sleep before pre-dawn departures. This guidance helps travelers plan personally while keeping the official itinerary intact.
Finally, the Day 2 narrative can incorporate a compact cultural-context note that remains optional yet valuable. A short, respectful outline of possible pre-trek interactions with local communities—brief greetings in Swahili, understanding dress etiquette at markets, and consent-based photography considerations—enriches the travel experience without pressuring those who prefer to minimize interactions. The emphasis is on providing a gentle, optional map to cultural immersion that does not compete with acclimatization priorities.
In sum, the most meaningful Day 2 enhancement is a clearly time-bound, contingency-ready bridge that translates airport arrival into a smooth ascent rhythm. It should preserve the core acclimatization focus while adding concrete, verifiable steps for transfer logistics, gear readiness, medical preparedness, lodging and meals, and optional cultural engagement. This keeps Day 2 robust, bookable, and practically navigable for travelers who rely on a precise sequence to achieve a balanced, safe start to the Rongai climb followed by the Tanzania safari that follows.
Day 2 Gap-Discovery Focus: Day 2 Logistics Beyond Acclimatization and Gear Readiness
In the established arc, Day 2 is the connective tissue between airport arrival and the Kilimanjaro ascent. The most valuable additional detail for readers is a tightly scoped, executable checklist that translates acclimatization prep into concrete, bookable actions that align with the Day 3 departure. This section provides a practical bridge—no theoretical fluff, only verifiable steps travelers can confirm with their operator before purchase.
1) Transfer confirmations and contingency routing. By Day 2 you should have a confirmed airport-to-base transfer window and a clear plan for any delays. Request written backup routes: a primary plan with a ground-transfer time target (for example, 2.5–3 hours depending on flight arrival time) and an alternate plan if traffic or flight schedules shift. Ensure the operator specifies where your luggage will be stored during a late afternoon or early evening layover option and whether a pre-trek briefing can be moved to a later time if you arrive with fatigue or jet lag.
2) Medical readiness guardrails. On Day 2, validate a shared medical kit protocol with your guide team. Confirm that inhalers or epinephrine auto-injectors (if prescribed) are accessible in a designated kit and that each traveler carries a personal medical card with known allergies, medications, and emergency contact numbers. Establish a quick symptom-tag system with your guide (for example: red flag symptoms requiring immediate descent or medical stop) that can be discreetly used in camp or lodge environments without interrupting the group rhythm.
3) Gear readiness verification. A practical Day 2 gear closeout includes a 15–20 minute arms-length check with your guide for essential pieces: headlamp with extra batteries, layerable clothing for temperature swings, sturdy boots with recent tread, gaiters if rainy or dusty, and a compact daypack with water bladder or bottled water supplies. Request a written gear-check list from the operator that maps to each trekking day’s expected altitude and environment so you can compare what you packed against what the guide requires for Day 3.
4) Lodge-to-trailhead timing and rooming decisions. If multiple base options exist near Moshi or Arusha, Day 2 should include a clear preference rationale: closer proximity to the trailhead for an earlier pre-dawn departure versus a quieter room to optimize sleep ahead of Day 3. Ask for a single, preferred room-type note (standard twin, en suite, or family room) and whether a wake-up call or early breakfast service can be adjusted in case of a delayed pre-dawn start.
5) Safeguarding your pace and acclimatization rhythm. The Day 2 plan should explicitly translate rest into a sustainable ascent pace. A simple rule: reserve energy for the first half of Day 3 with a light afternoon activity (short stroll, optional local market visit) that keeps you moving without overexertion. Request a written, minimum-pace guideline for Day 3 (for instance, an average pace not to exceed 2–2.5 km/h on moderate terrain with rest every 20–25 minutes).
6) Communication protocol and language notes. Establish a straightforward method for contacting your guide in case of subtle acclimatization cues or a lag in sleep. A short Swahili phrase guide (such as hello, please, thank you) can ease initial cultural friction, but keep it optional. The key is a clear, pre-agreed channel and a small set of phrases for emergencies or transport changes, all included in an unobtrusive card in your daypack.
7) Cultural-awareness groundwork. Day 2 is an ideal time to set expectations for any brief community interactions on the road to the trailhead. Decide, in advance, whether part of the group will participate in a brief customary greeting at a local shop or market, and confirm any photography etiquette. This reduces later friction and preserves the focus on acclimatization for the mountaineering portion.
8) Documentation and permits. Ensure you have digital copies of essential documents (passport, visa if applicable, park fees) accessible offline and uploaded to a secure cloud folder. The operator should provide a hard-copy itinerary with contingencies for a misconnect between the flight and transfer window, reducing the risk of scrambling on Day 3 morning.
9) Weather and packing sanity checks. Day 2 should include a simple forecast-skeptic check: a two-day minimum window for weather-impacted delays with a plan B for abrupt downtimes or wind exposure. Pack a compact rain shell and a warm layer for early mornings, with a note on how the local guides manage altitude-related temperature changes within the Rongai corridor.
10) Personal rhythm mapping. Create a personal rhythm plan that tracks sleep quality, hydration, and meal timing across the two days before the trek. A one-page tracker helps you gauge your readiness for the altitude onset on Day 3, and can be shared with your guide as a collaborative tool rather than an individual assertion.
In short, Day 2 becomes a tight, executable set of micro-decisions that keep the itinerary resilient to common disruptions while preserving the acclimatization and pre-trek momentum. The aim is a predictable, bookable sequence: one that you can confirm with your operator, that reduces last-minute ambiguity, and that keeps the Day 3 departure time as the true north of the 12-day plan.
Related Guides and Packages
7-Day Rongai Route And 3-Day Tanzania Safari14 Days Tanzania Safari And Zanzibar Beach Tour: Mainland Wildlife, IslandsCombine The Challenge Of Kilimanjaro With Wild Beauty Of Tanzania’s Serengeti13 Days Lemosho Route And 4 Tanzania Safari 2026-202715 Days Tanzania Luxury Safari And Zanzibar Beach Retreat: Mainland Wildlife12 Days Tanzania Wildlife Safari And Nungwi Beach Holiday 2026-2027Check Availability for 12 Days Rongai Route And Tanzania Wildlife Safari 2026-2027
Ready to compare dates, prices, and the best option for your group? Send the package name and travel month so the team can reply with a clear quote, availability, and what is included.
12 closely related packages17 Days Rongai Route Safari And Zanzibar Holiday 2026-2027
17 Days Rongai Route Safari and Zanzibar Holiday.
View package details
13 Days Lemosho Route And 4 Tanzania Safari 2026-2027
13 Days Lemosho Route and 4 Days Tanzania Safari.
View package details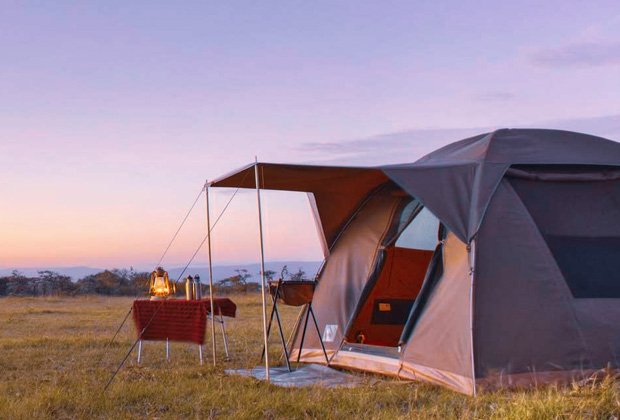
7-Day Rongai Route And 3-Day Tanzania Safari
7-Day Rongai Route and 3-Day Tanzania Safari.
View package details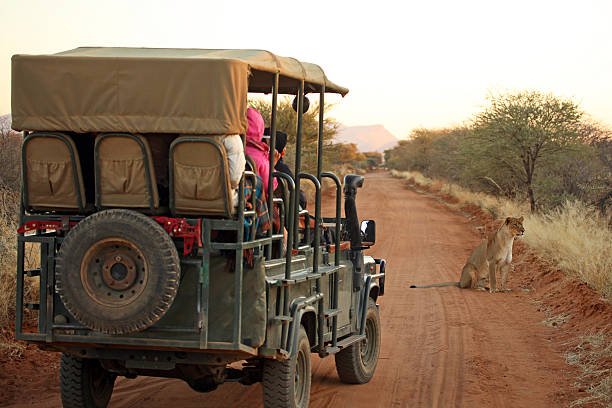
21 Days Tanzania Grand Adventure – Kilimanjaro Safari And Zanzibar 2026-2027
21 Days Tanzania Grand Adventure – Kilimanjaro Safari and Zanzibar.
View package details16 Days Marangu Route Serengeti Safari And Zanzibar 2026-2027
16 Days Marangu Route Serengeti Safari and Zanzibar.
View package details18 Days Lemosho Route Safari And Zanzibar Beach 2026-2027
18 Days Lemosho Route Safari and Zanzibar Beach.
View package details17 Days Machame Route Safari And Zanzibar Beach 2026-2027
17 Days Machame Route Safari and Zanzibar Beach.
View package details20 Days Ultimate Tanzania Kilimanjaro Safari And Beach 2026-2027
A complete 20-day, bookable Tanzania itinerary weaving Kilimanjaro ascent, northern safari circuits, and a Zanzibar-style beach finale with practical logistics and real-world pacing.
View package details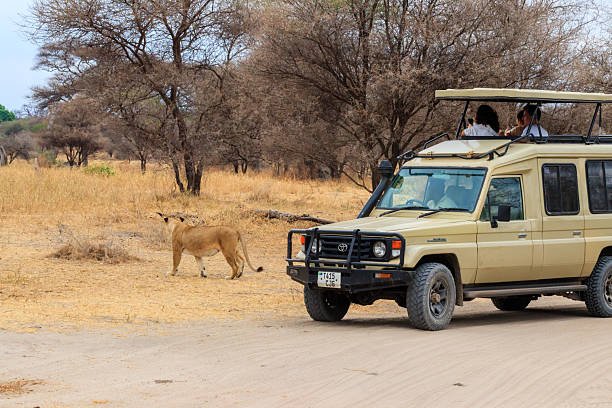
11 Days Marangu Route And Tarangire Serengeti Safari 2026-2027
11 Days Marangu Route and Tarangire Serengeti Safari.
View package details14 Days Lemosho Route And Serengeti Ngorongoro Safari 2026-2027
14 Days Lemosho Route and Serengeti Ngorongoro Safari.
View package details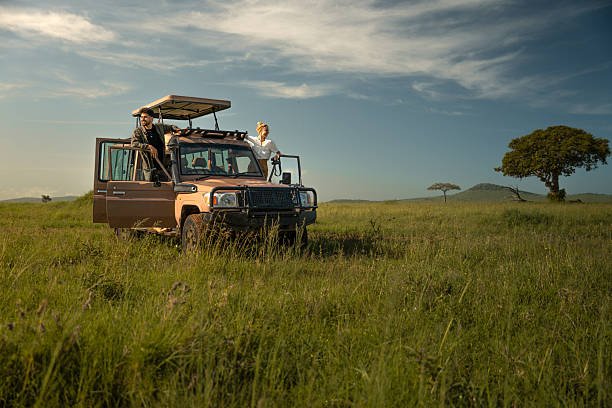
12 Days Machame Route And Serengeti Safari 2026-2027
12 Days Machame Route and Serengeti Safari.
View package details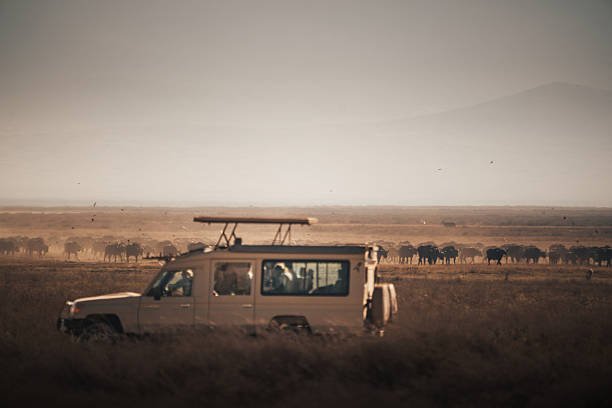
11 Days Machame Route And Ngorongoro Safari 2026-2027
11 Days Machame Route and Ngorongoro Safari.
View package detailsNo related package matches those filters. Clear one or more filters to see the other topic-matched options.